

Join Mago now!
Secure a spot on our waitlist.


.png)
Music videos are the game-changer in music.
It helps you stand out but only if your music video illustrates the DNA of the artist and its music.
That's why AI style transfer empowers everybody - from the freelancers creating music videos for artists to the 3D artists - to effortlessly transform their videos into visually stunning artworks.
In this tutorial breakdown, we explore the step-by-step process of applying AI style transfer to a music video using Mago’s latest model, including tips on prompt design, ControlNet net settings, and render optimizations to unlock the potential of AI-powered video stylization.
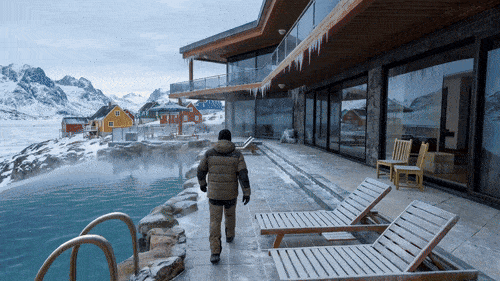
To begin, simply create a new project in Mago and drag your source video into the timeline. In seconds, the video appears ready to be stylized.
For this tutorial, we’re using Mago V3. V3 is our most stable and advanced model yet. If you prefer, V2.5 is also available, though with less consistent stylization results.
Mago is in closed beta, join the Mago waitlist
Mago integrates an intuitive image-to-image workflow that supports both:
In this tutorial, we use the Mago workflow to guide the stylization with a reference image. After uploading the image, a simple yet effective prompt like “colorful drawing style” provides creative direction.
Customize your output using these advanced settings:
Once set, click Generate.
Multiple frames can be queued simultaneously, enabling fast iteration until you achieve the desired look.
Pro Tip: You can choose the input frame you want to use at the top left of the image-to-image window.
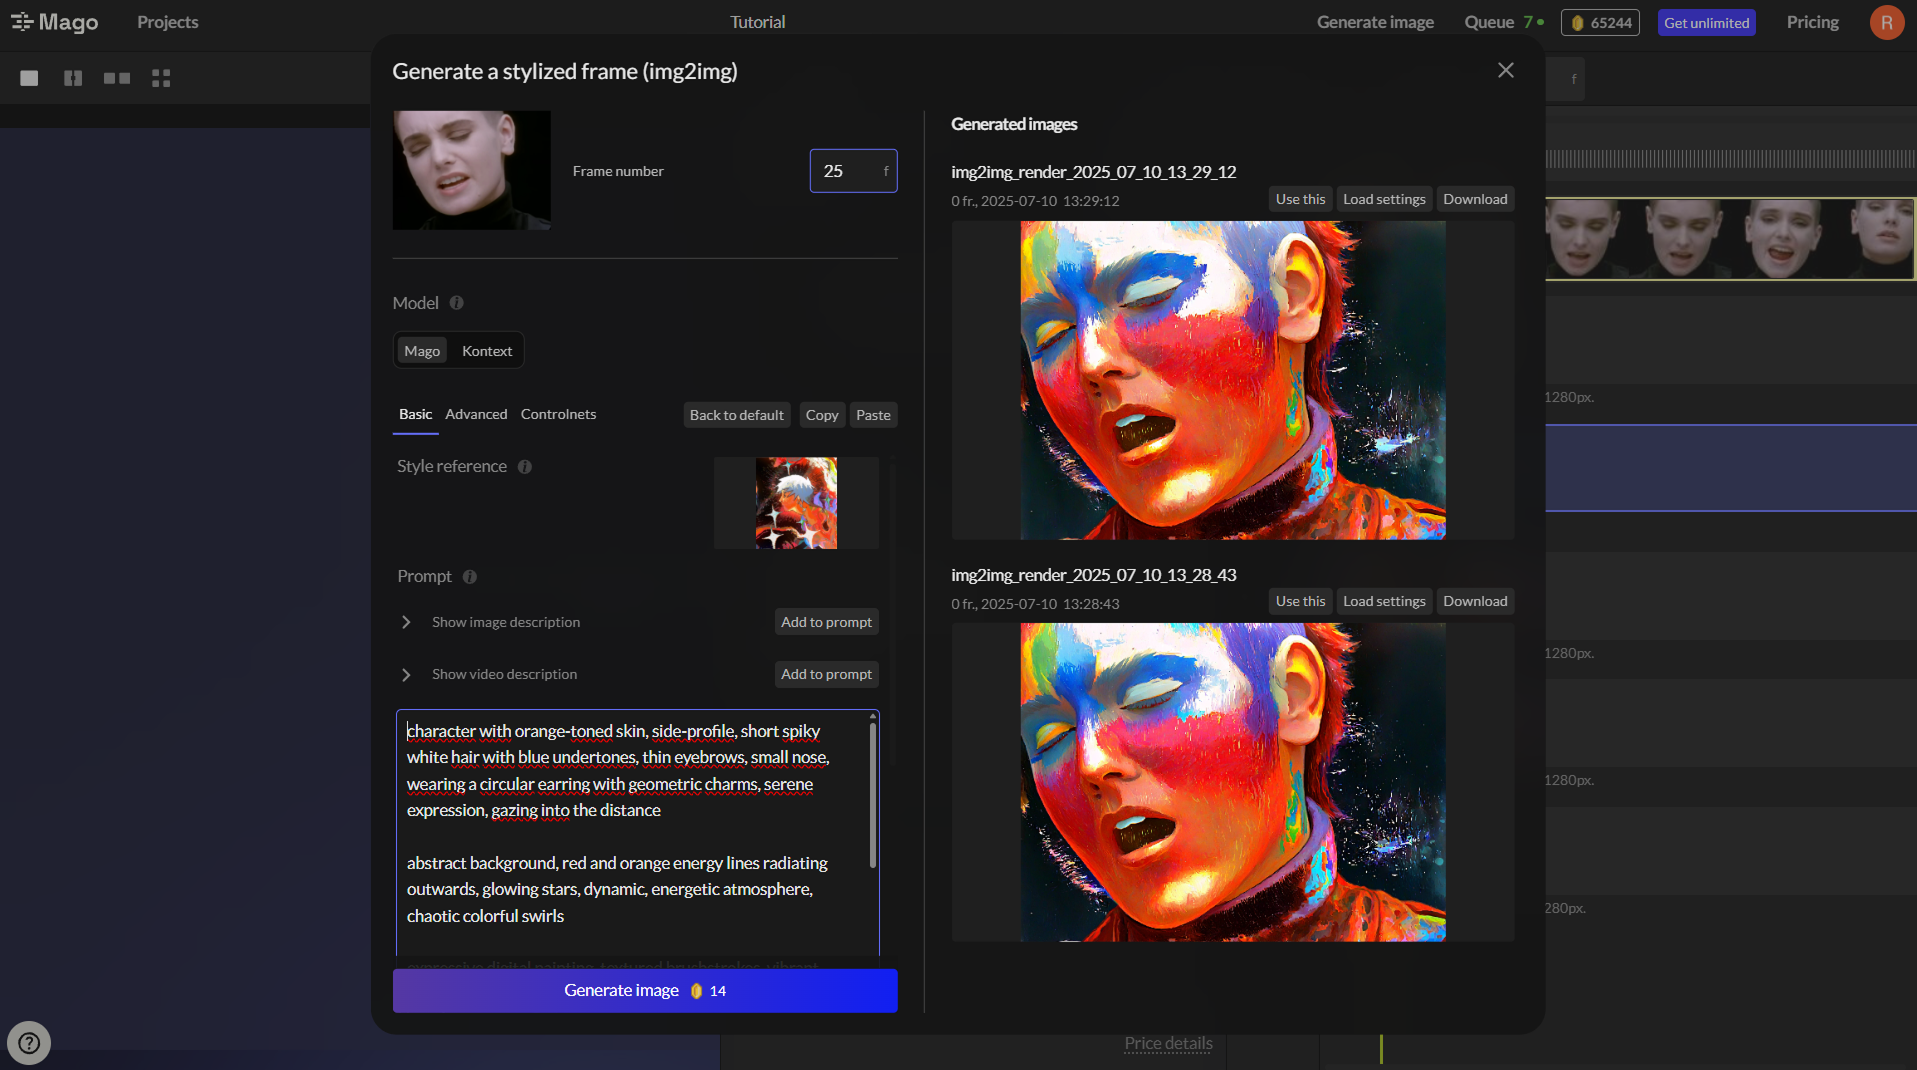
Once you have your reference image, you can start to stylize your videos. The setting panel is divided in three parts : Basic Video Tab, Advanced Video Settings Tab, ControlNets Tab.
After selecting your preferred image frame, apply it as the style reference for the full video. You can:
Pro Tip: Adjust the negative prompt only if you see something in your first stylized render that you do not want to be in the video.
Under the Advanced tab, we recommend:
Run a 24-frame test render first to preview the result side-by-side with your input video (Control + Left Click for comparison).
Pro Tip : Each ControlNet will be better for a certain type of video you want to get. Here is the list:
Iteration is key in your optimized creative process. Mago follows this flow:
For longer renders, you can now generate up to 1,800 frames in Mago. In our case, we expanded to 100 frames and launched the final render directly.
This walkthrough demonstrates how AI style transfer with Mago turns your music video footage into stylized visuals, ready for music videos, animation projects or artistic experimentation.
Mago is designed for creative artists and video creators. With all its features while giving you creative control, you have all the tools to create stunning video transformations: no code, no messy node or compositing required.
Start your next AI video experiment with Mago and see how far your creativity can go.
Secure a spot on our waitlist.


